Step One: Read the brief
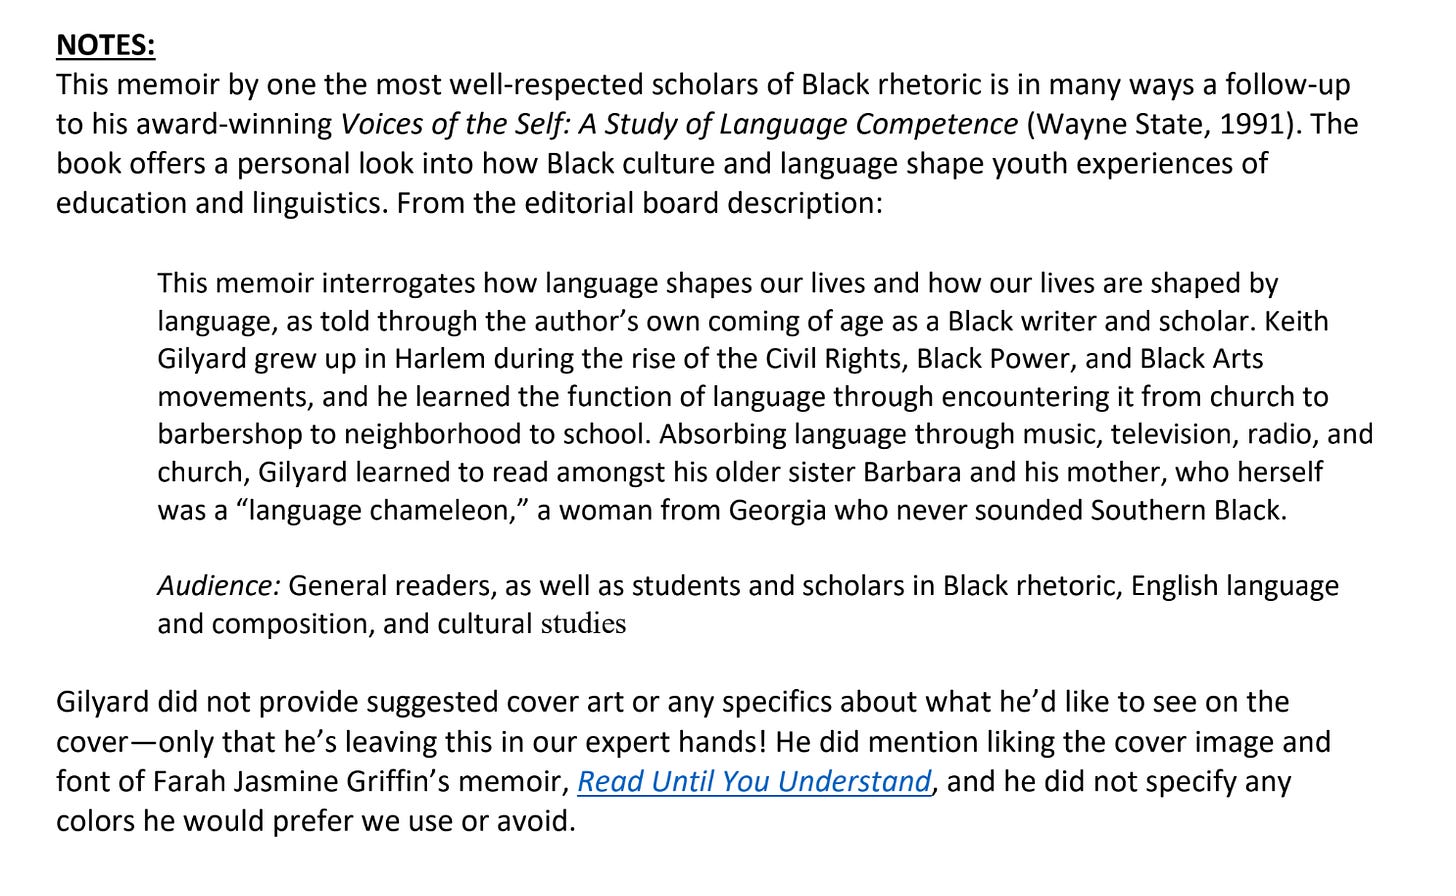
Receive the brief. Get excited. Or panic. You may have unknowingly had your last good idea already. You never know.
Step Two: Set up Your Notebook
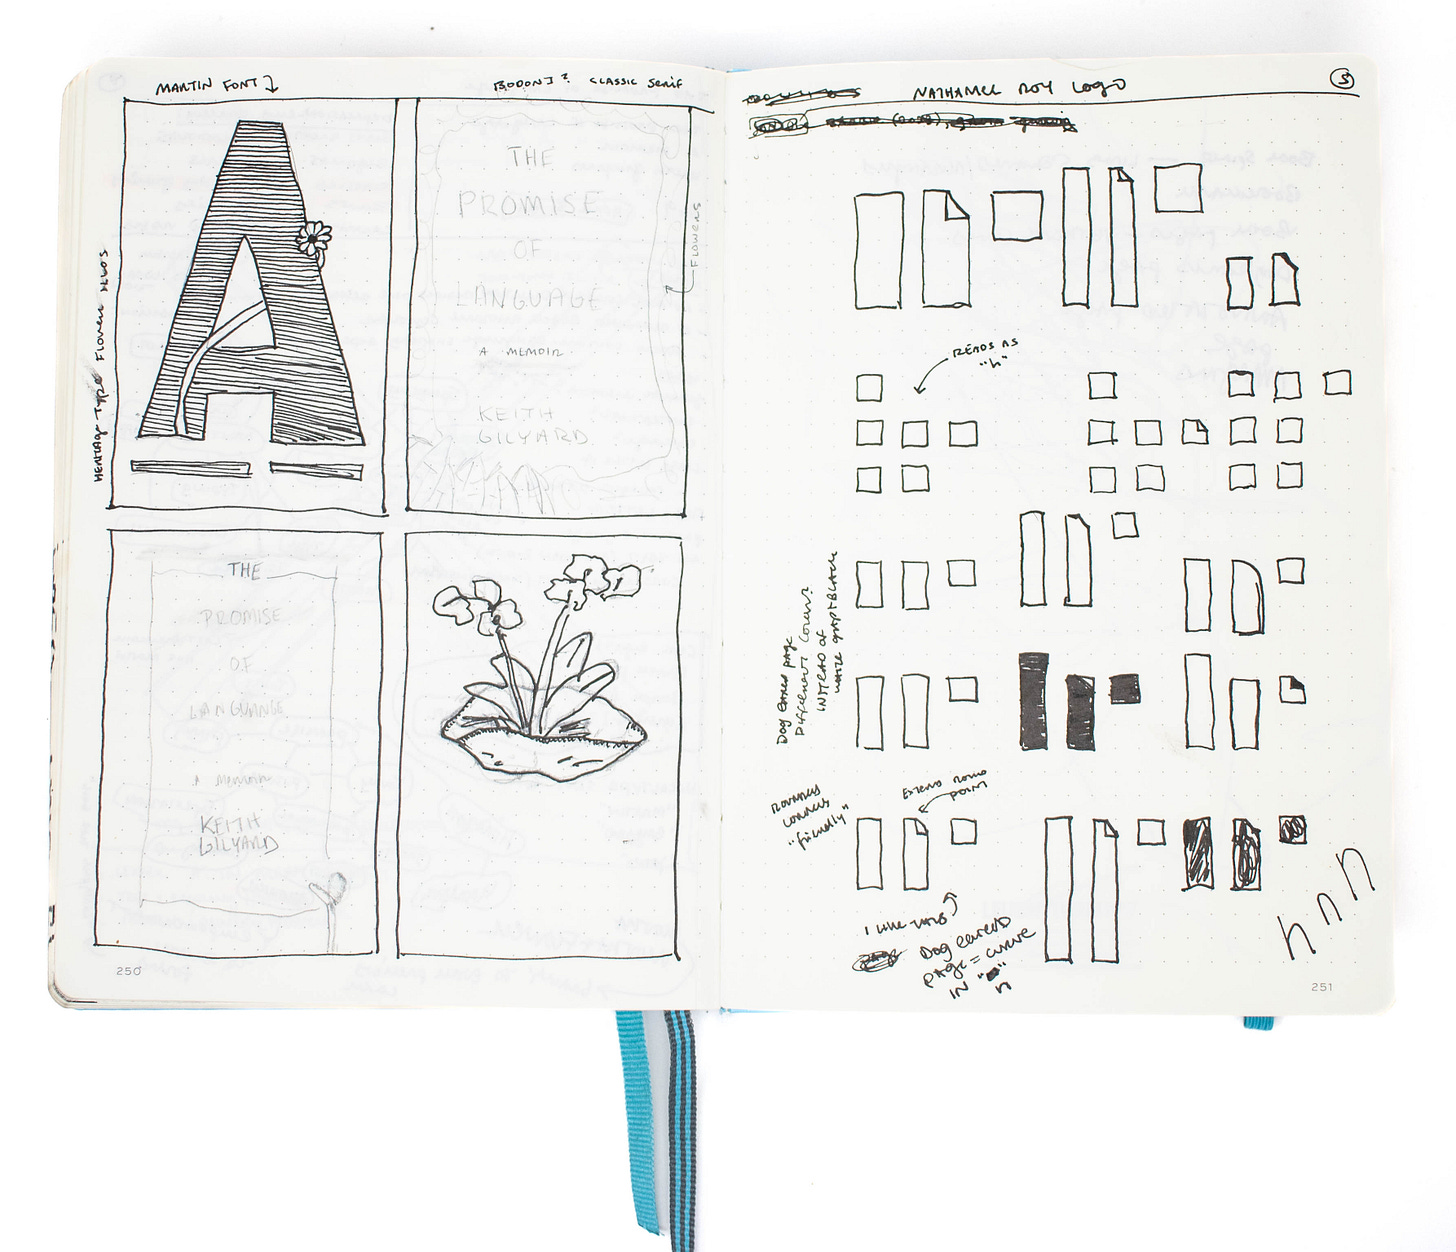
Open your notebook. Write a little something about the book so that your future self is only moderately confused about the scribbly garbage yet to come on these pages. Draw a bunch of small, book-shaped rectangles to serve as thumbnails. Will you use them? Who knows! But their existence proves that you at least intended to sketch.
Step Three: Brainstorm
Write down some ideas. Scrape the most obvious, dumb, and ugly detritus from your brain and spit it onto the page. There’s no helping it, that stuff has to come out. Cringe a bit. Keep going. You’ve dug to a deeper layer now—hey, that’s not bad. Make a mind map and make some connections. Take a walk.
Step Four: Sketch
OK fine, you’re not out of good ideas yet. Visualize them as quickly as possible. Don’t worry about quality yet. You’re not Da Vinci and this isn’t his notebook.
Step Five: Open Photoshop
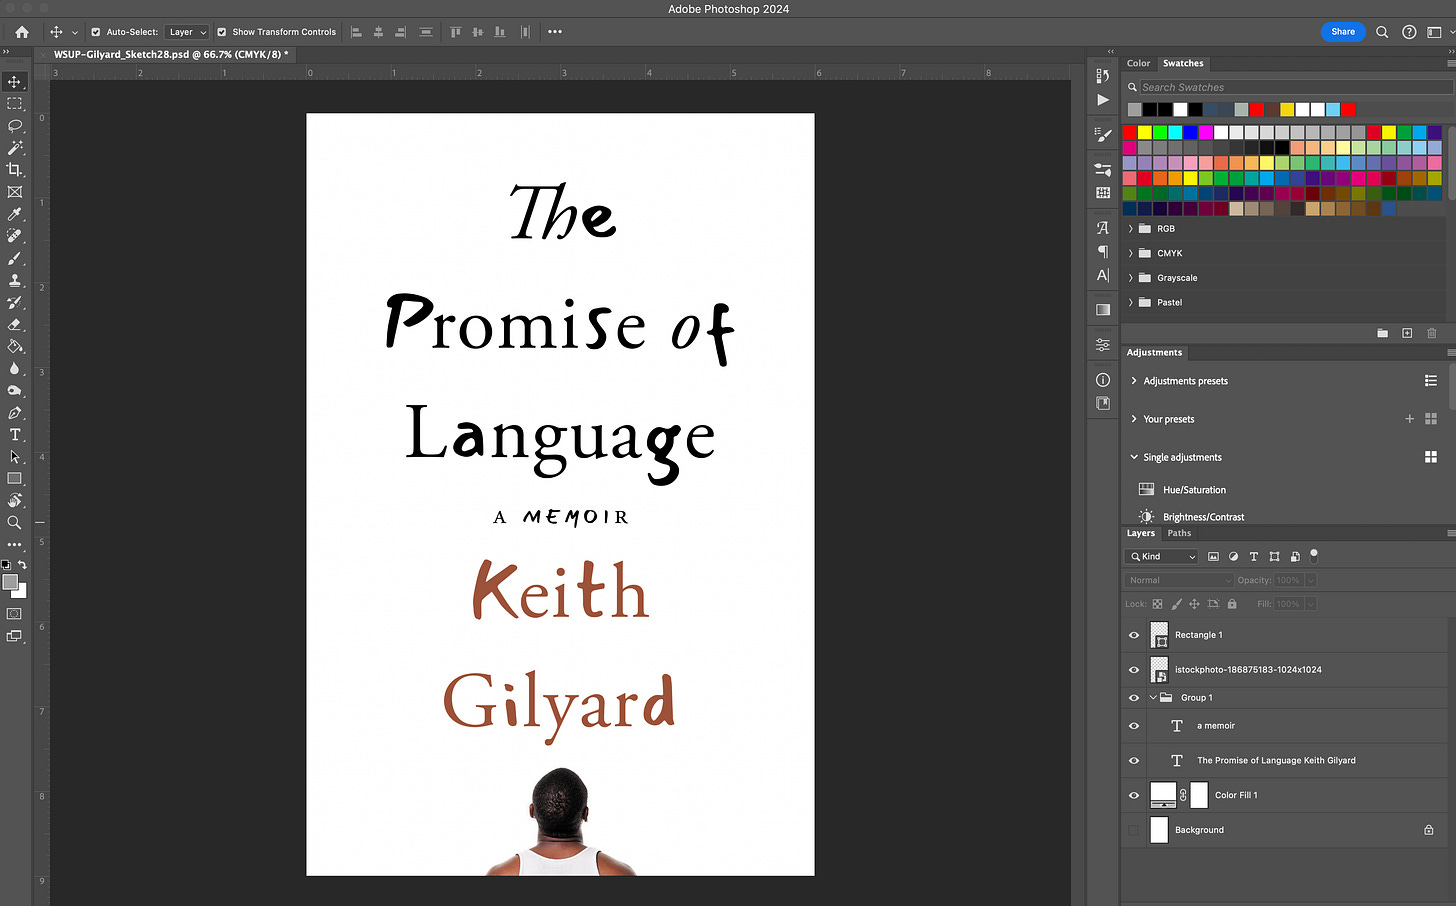
Get those roughly sketched elements onto the screen. Make some crap. Reconsider this whole “design” thing. Nudge the type. Nudge some more. Hey, that’s something. Oh! A new idea—duplicate the file to make sure you don’t lose anything. We’re still sketching here.
Step Six: Refine
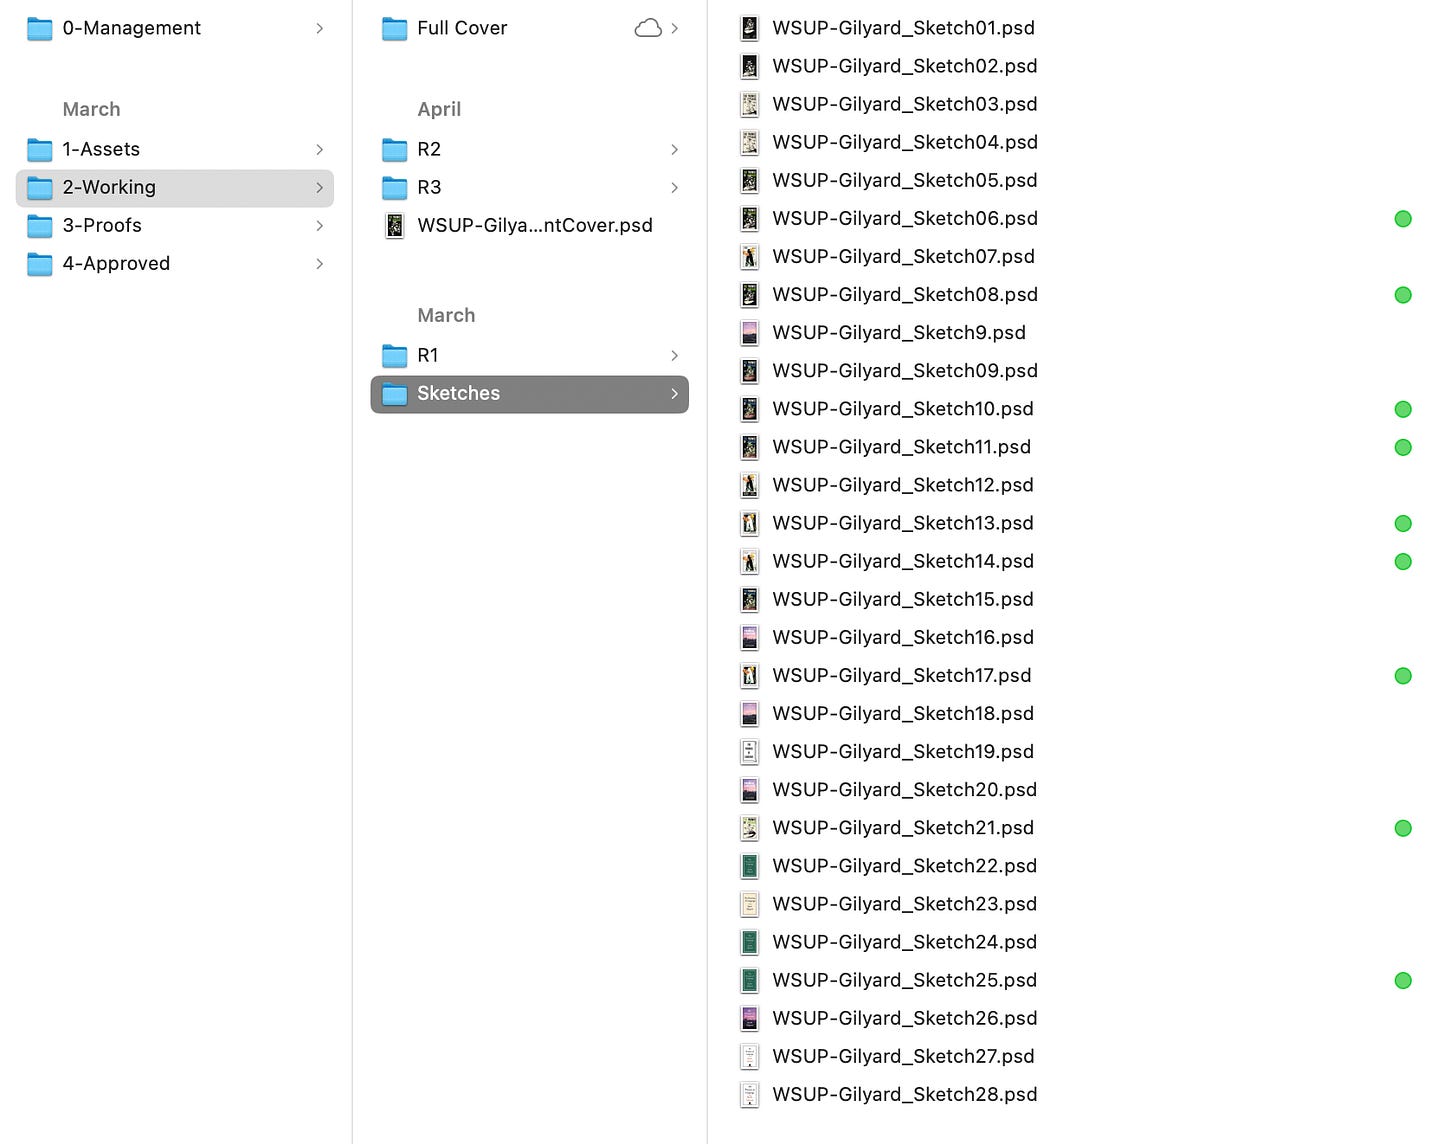
Take a look at what you’ve got. There’s got to be something presentable in the 20–30 digital sketches you’ve got here. Collect the best options into a new folder. Push a few more pixels only you will notice. Put the computer down and look at them a bit later.
Step Seven: Present
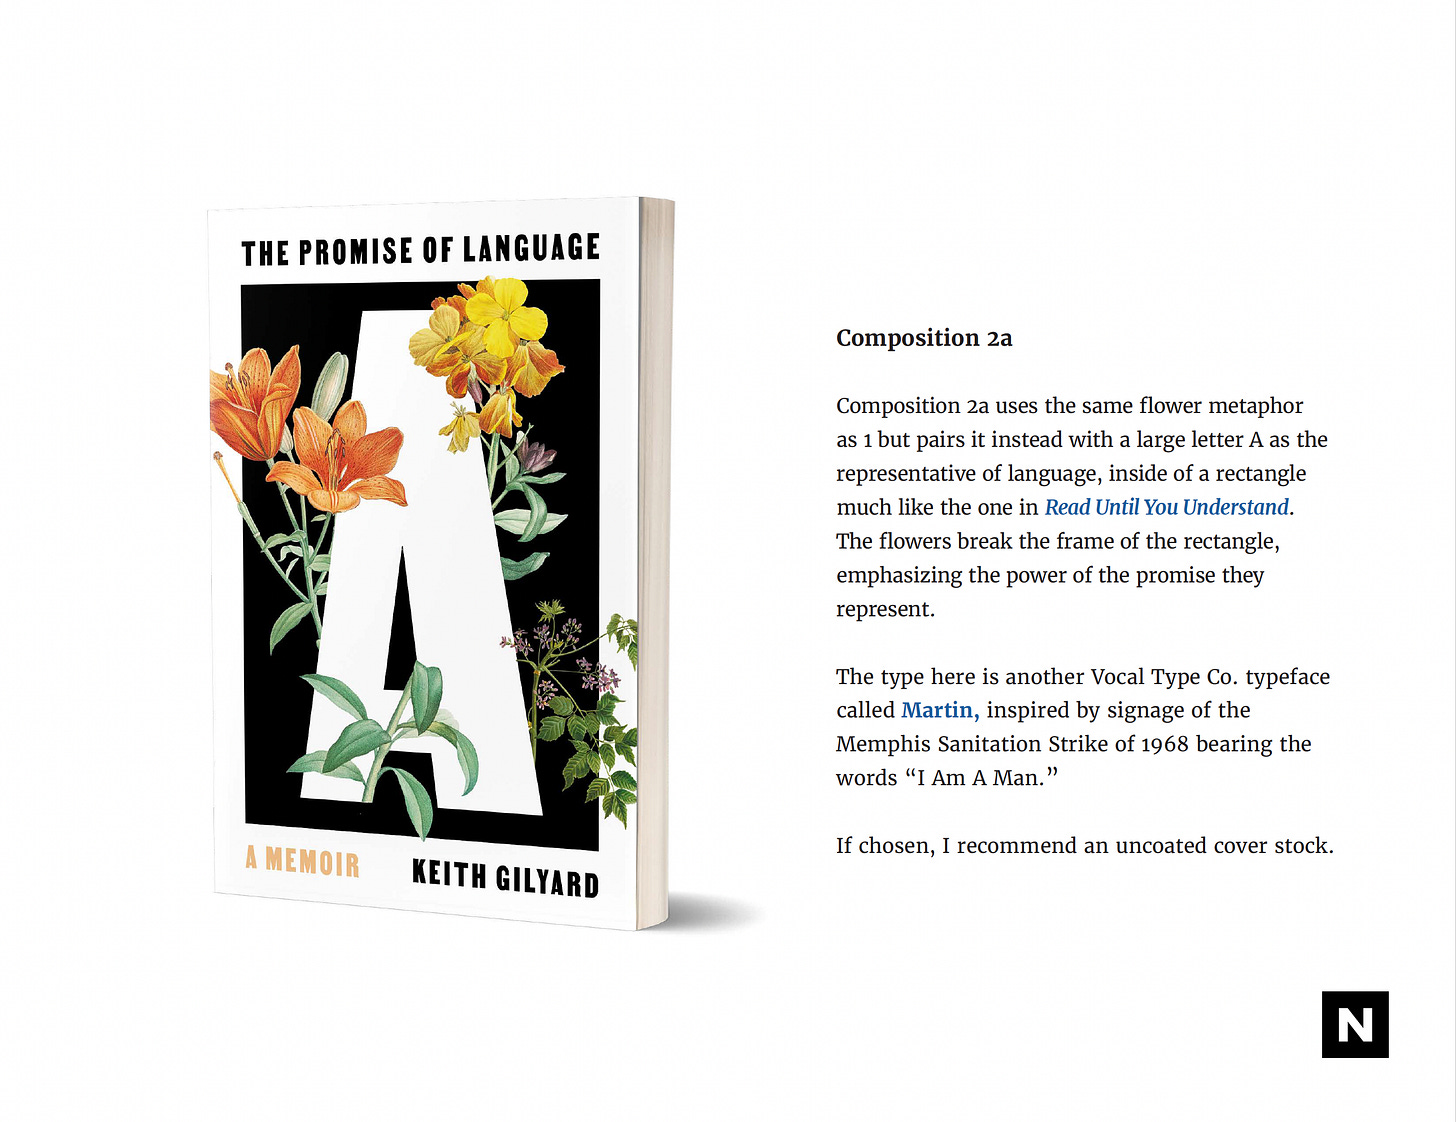
Put your chosen covers into a presentation that makes it look like you know what the hell you’re doing. Mockups are nice. Write a little about your thinking for each option. A little sprinkle of designer bullshit goes a long way.
Step Eight: Revise
Open the email from your client with some dread. Comments are one of the following:
No changes? Quick, buy a lottery ticket.
Read the feedback. Tell your ego to shut the hell up. Read it again. Oh, that’s actually smart—let’s try it.
Read the feedback. Oh, that’s really dumb. Let’s see if we can convince them that isn’t good with a little tact. Dammit, they’ve fallen head over heels for their idea. Try and make the best of it.
Repeat as necessary until a front cover is locked. Celebrate! Or cry.
Step Nine: Wait
Sit tight. They’ve got to finish editing and typesetting the book. Or maybe you do. In that case, get to work!
Step Ten: Design the Mechanical
Once there is a final page count, receive (or generate yourself) the full cover mechanical template. Fire up your old pal InDesign. Open your calculator to get the decimal for ⅜ again even though you’ve done this hundreds of times. That’s just part of the process—you don’t make the rules.
Adjust your cover art file so that it fits the print dimensions. Typeset the back cover. Fidget with fonts, colors, margins, and leading—your favorite kind of puzzle. If you can, bring in some elements related to the front cover.
Oops, you forgot the spine. Really, dude? Spend as much time fiddling with the spine as you do the rest of the jacket. First impressions are important, after all.
Send the files off. Make last minute revisions to the copy. Mentally fight with the printer when you inevitably measure something wrong or their template is weird and confusing. Send it again.
Step 11: Wrap it Up
Pray to the gods of Cyan, Magenta, Yellow, and Black that the cover turns out alright. The Pantone pantheon, if they’re present. This is essential.
Confirm everyone has what they need. Good? Good. Get paid.
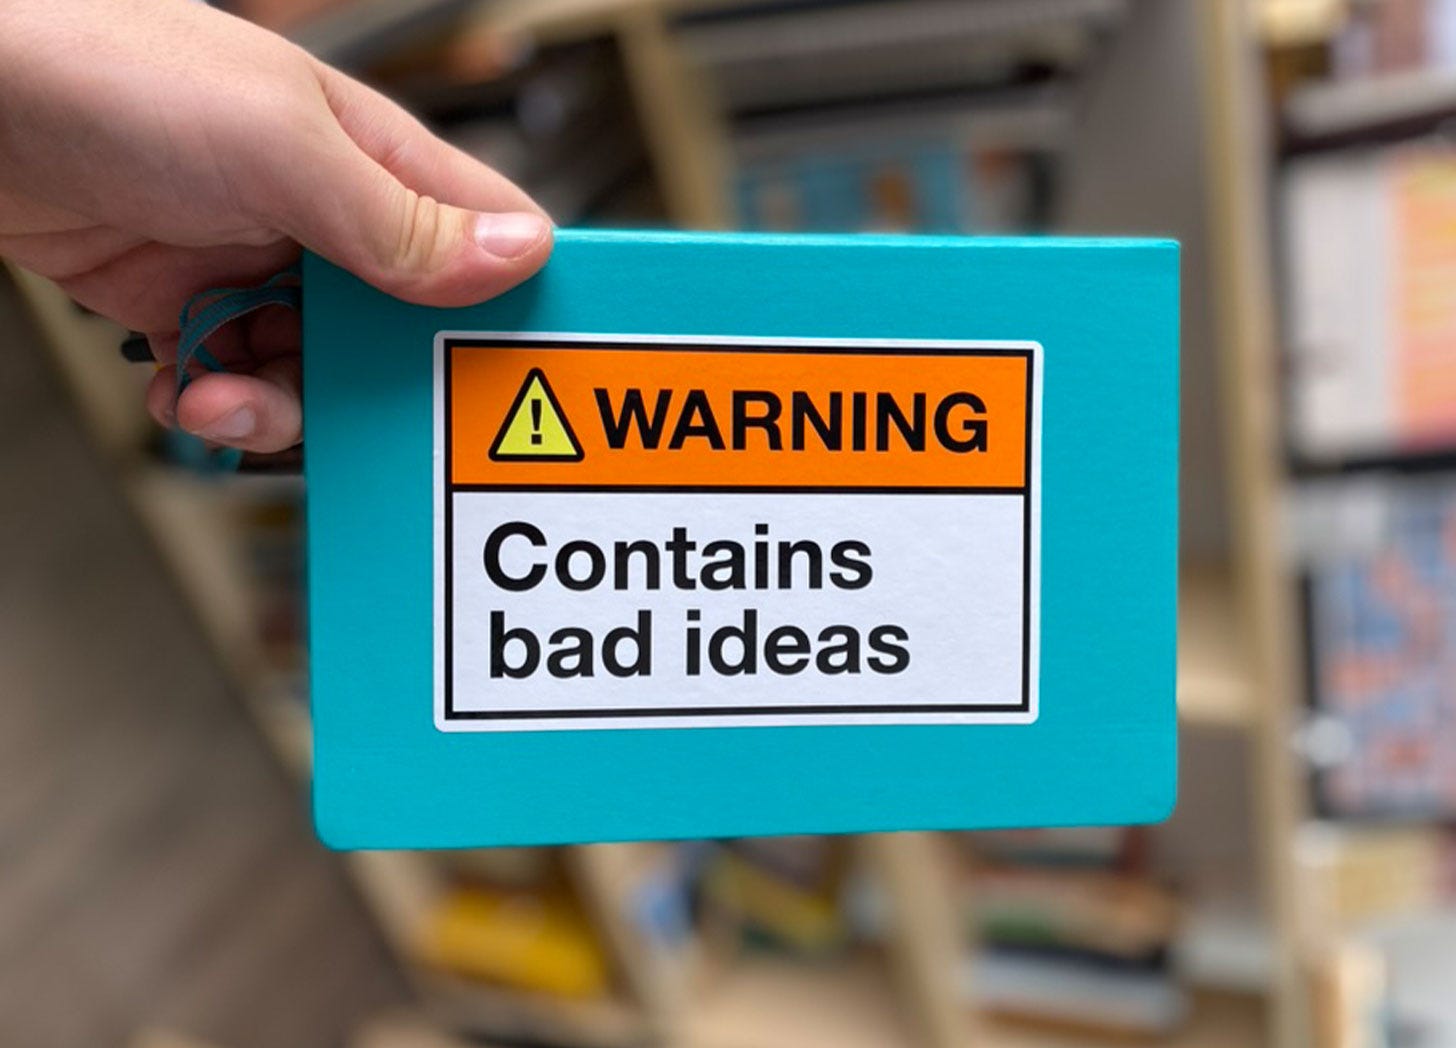
*Perfection results may vary. Nathaniel Roy and A Book Designer’s Notebook are not responsible for poorly-designed books (except for when he is). Publishing is a crapshoot and this is a silly article. Consult your designer if symptoms of bad design persist.
Step 12: Subscribe
Do you want to read more about how I design book covers? I have good news. This Wednesday, I am launching a new bonus series called How to Design a Book Cover. In this bi-weekly series, I will break down the design of specific covers from creative brief to final cover and all the steps between. Basically, it’s what I shared in this newsletter, except less tongue-in-cheek and way more in depth. You’ll get to see those 20–30 sketches that may or may not work.
This is a new series for paid subscribers—but the first post this Wednesday will be free for everyone. Think of it like a delicious sample at the grocery store.
I’m really excited about this series and think it will provide a ton of value for those interested in the book cover design process. This is my version of “write the book you want to read.” I would have done some unsavory things for this level of access to a professional book designer’s process when I was just starting out. I’m not the best designer in the world, but I do damn good work, and I guarantee you’ll learn something.
I’m putting this series behind the paywall because I want to diversify my income by leveraging my expertise. But I still want this to be accessible. To that end, I’m offering a 20% off discount on paid subscriptions from now until the end of the year.
If you can’t swing it or are simply uninterested, no sweat: the regular weekend edition of A Book Designer’s Notebook will still be free and isn’t going anywhere. If you’d like to support me a different way, please consider sharing this post.
No matter what, thank you for reading. I mean it.
Until next time,
—Nathaniel
Colophon
A Book Designer’s Notebook is a newsletter about book design and creative practice from the desk of Nathaniel Roy.
It uses the typefaces Merriweather, Futura, and whatever fonts Substack has chosen. Merriweather is a Google font designed to be a text face that is pleasant to read on screens. Futura is geometric sans-serif designed by Paul Renner in 1927. It is on the moon.
Nathaniel Roy is a book designer, collage maker, photo taker, self publisher, and a few other things in Ypsilanti, Michigan.
You can see his work and hire him here.




As someone who is a visual storyteller and not a book cover designer, but who has had a book cover request land in her inbox this week, this made me laugh and terrified me in equal measures 🙈
was wondering if u know anymore resources on kerning? in uni for graphic design and i have somewhat mastered photoshop but indesign is just so difficult to me🥲